If cards are not feeding into your scanner bay, or multiple cards are being fed into the machine at the same time, your machine will need some adjustments. Different games (MTG, One Piece, etc.), sets, and card types (ex. foils) have different thicknesses, which can lead to decreased performance if your PhyzBatch is not calibrated for them.
Card feeding could be affected by three components on the machine.
The Feed Wheels
Check The Tails
Before making adjustments to the Feed Fixer, ensure the tails are equal in distance to the header using your plastic shim. Position the shim so the bottom of the "L" shape is flat against the landing pad and that the back of the "L" is flush against the header of the Feed Fixer Assembly. Then adjust the tail so it touches the front of the shim. Make sure that both tails are set parallel to each other.
Check Card Feeding
- Open the scanner bay window to view cards as they are scanned.
- Insert a single card into the hopper under the orange rubber 'foot' and lightly push it into the scanner until it comes into contact with the rubber o-rings on the entry rollers located just beyond the foot without any friction.

- if the card cannot go under the foot, proceed to the next step and raise the foot until the card can slide underneath.
- if the card cannot go under the foot, proceed to the next step and raise the foot until the card can slide underneath.
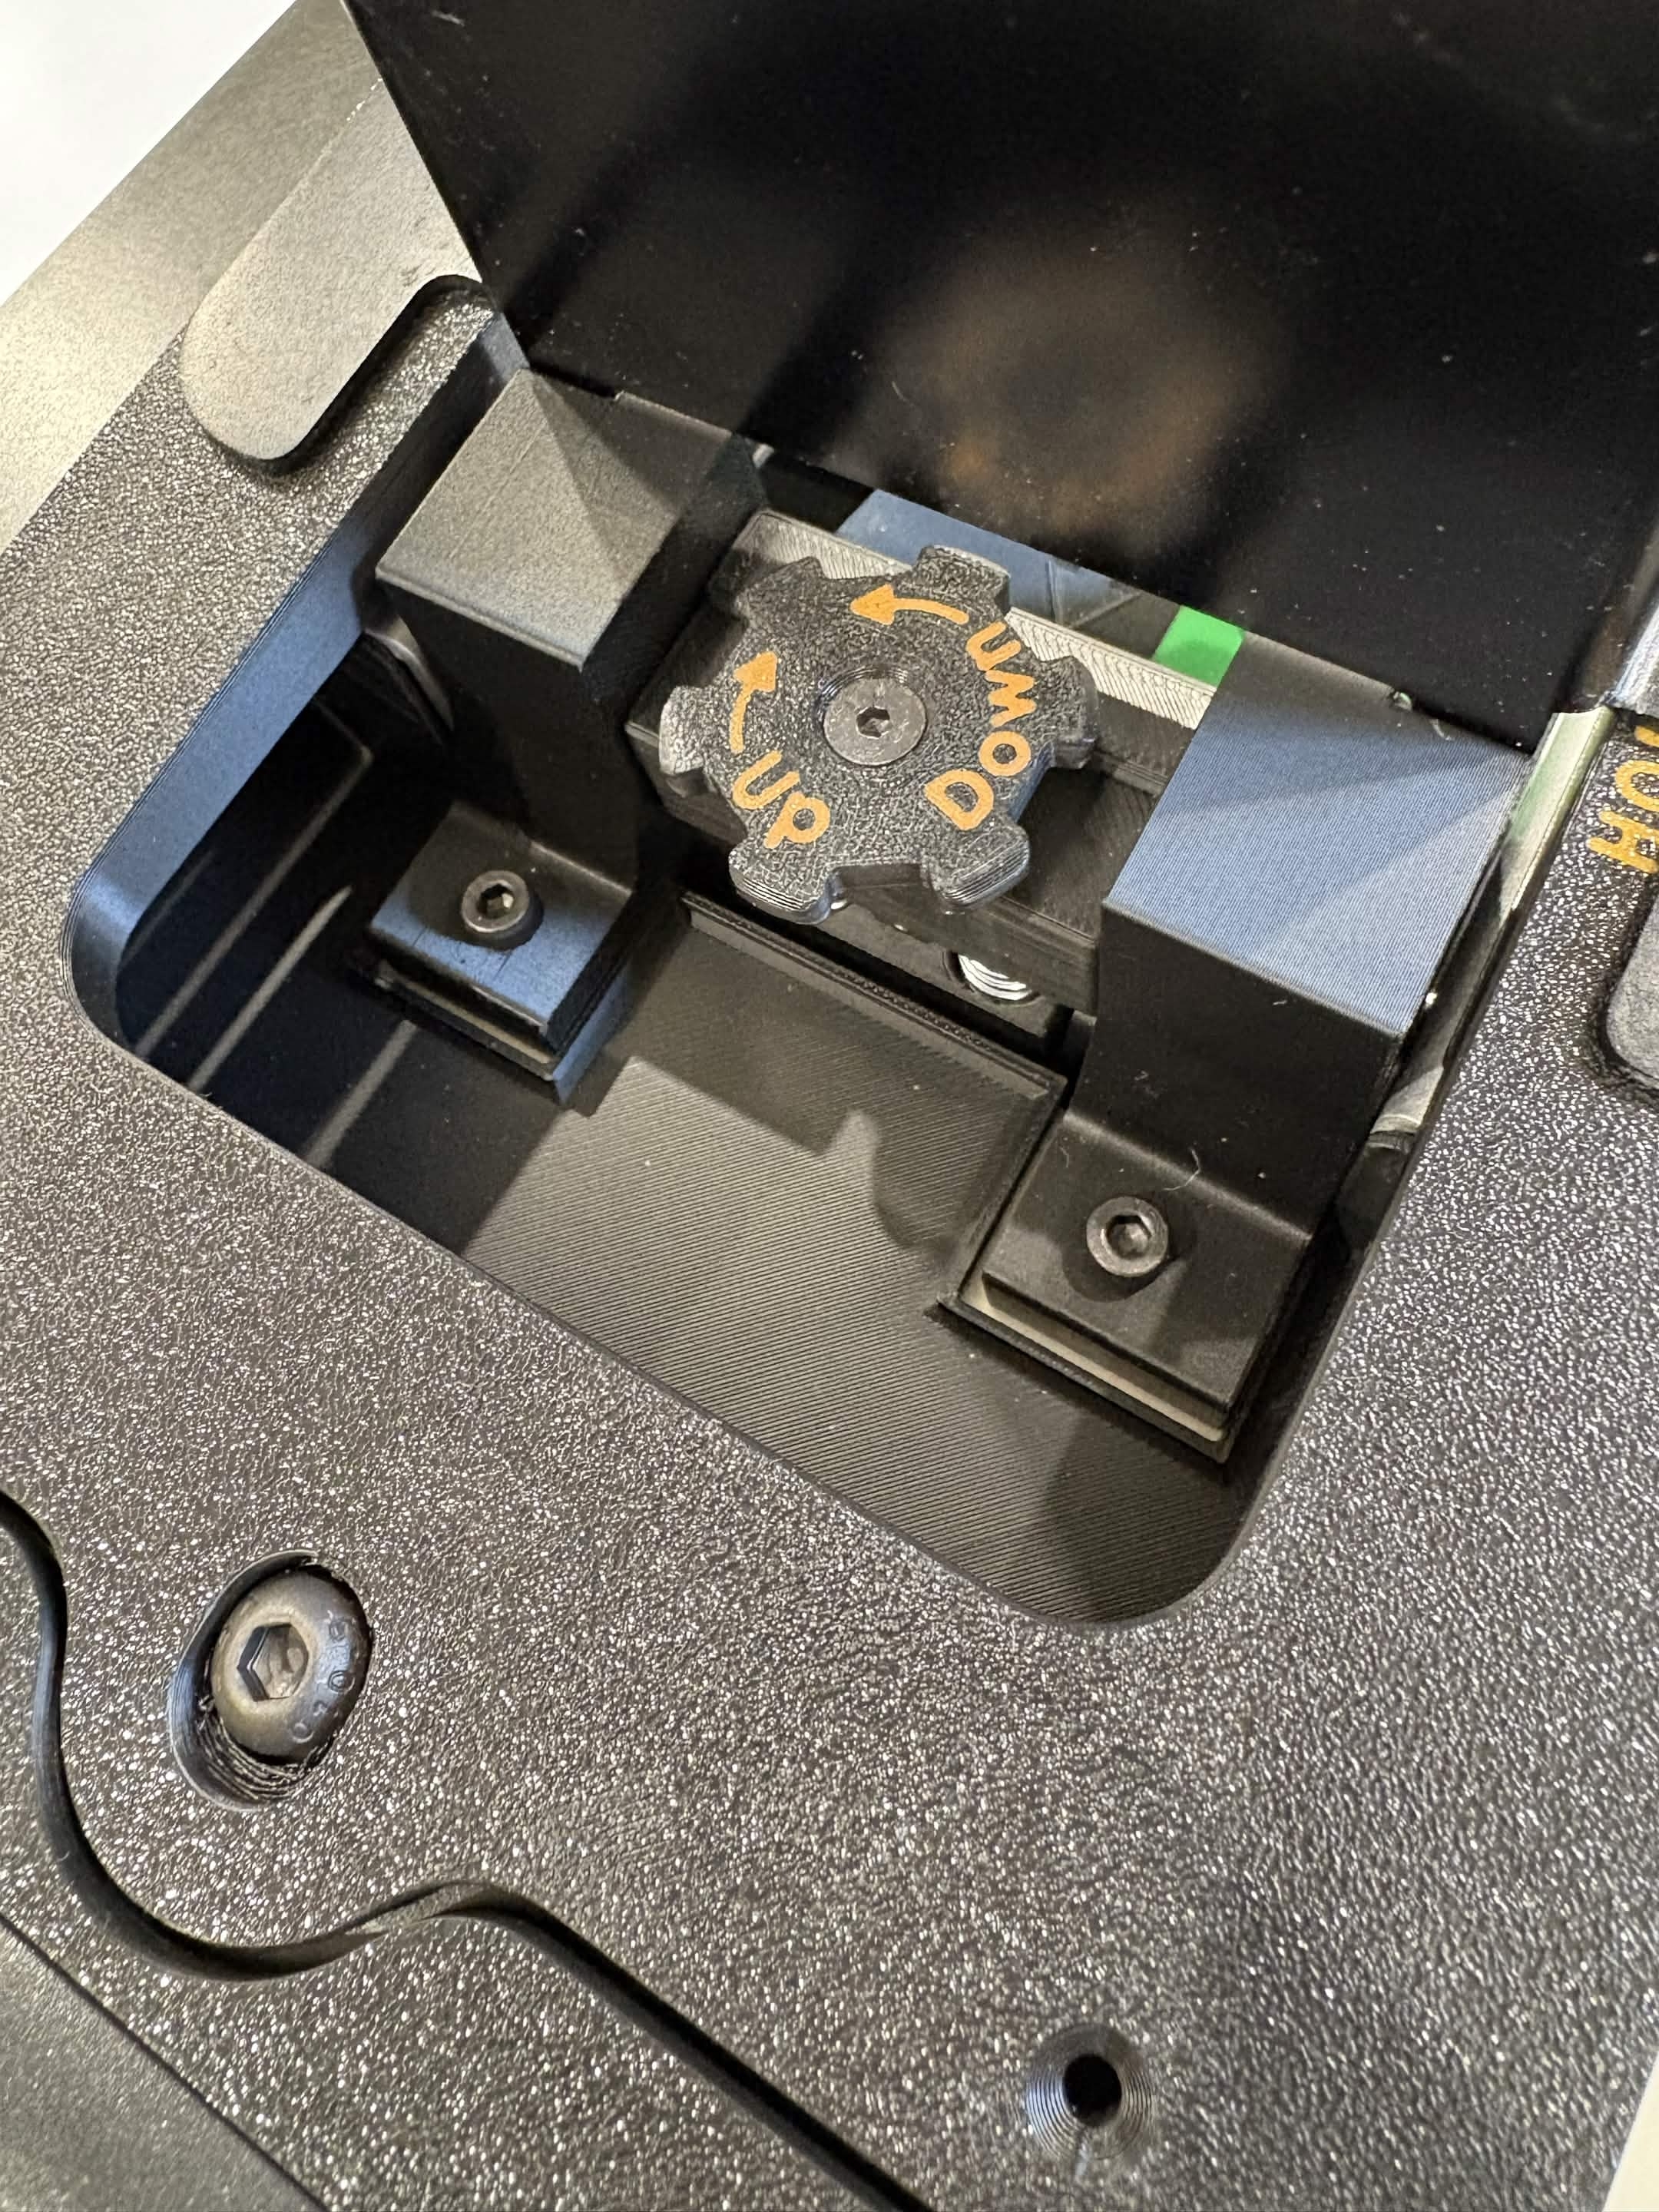
- The dial on the top of the mechanism moves the foot. Clockwise will move the foot up. Counterclockwise will move the foot down. Turn the dial counterclockwise until you begin to feel resistance on the card from the foot. Then turn the dial clockwise 1/10th of a turn or less to raise it slightly.
- Load the hopper with 200-250 cards.
- Align the cards with the curve of the guides ("tails"). Note that the cards should be nearly flush with the hopper walls, but should not have any friction with them. The gap should be as small as possible. Adjust your tails closer to or farther from the hopper as necessary. Use the plastic shim provided for best results when adjusting the tails.


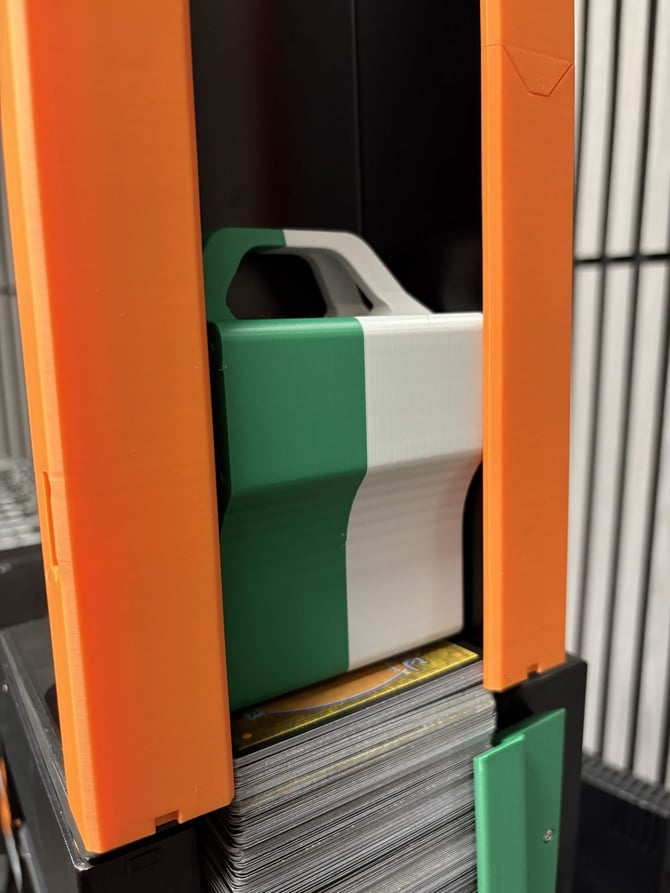
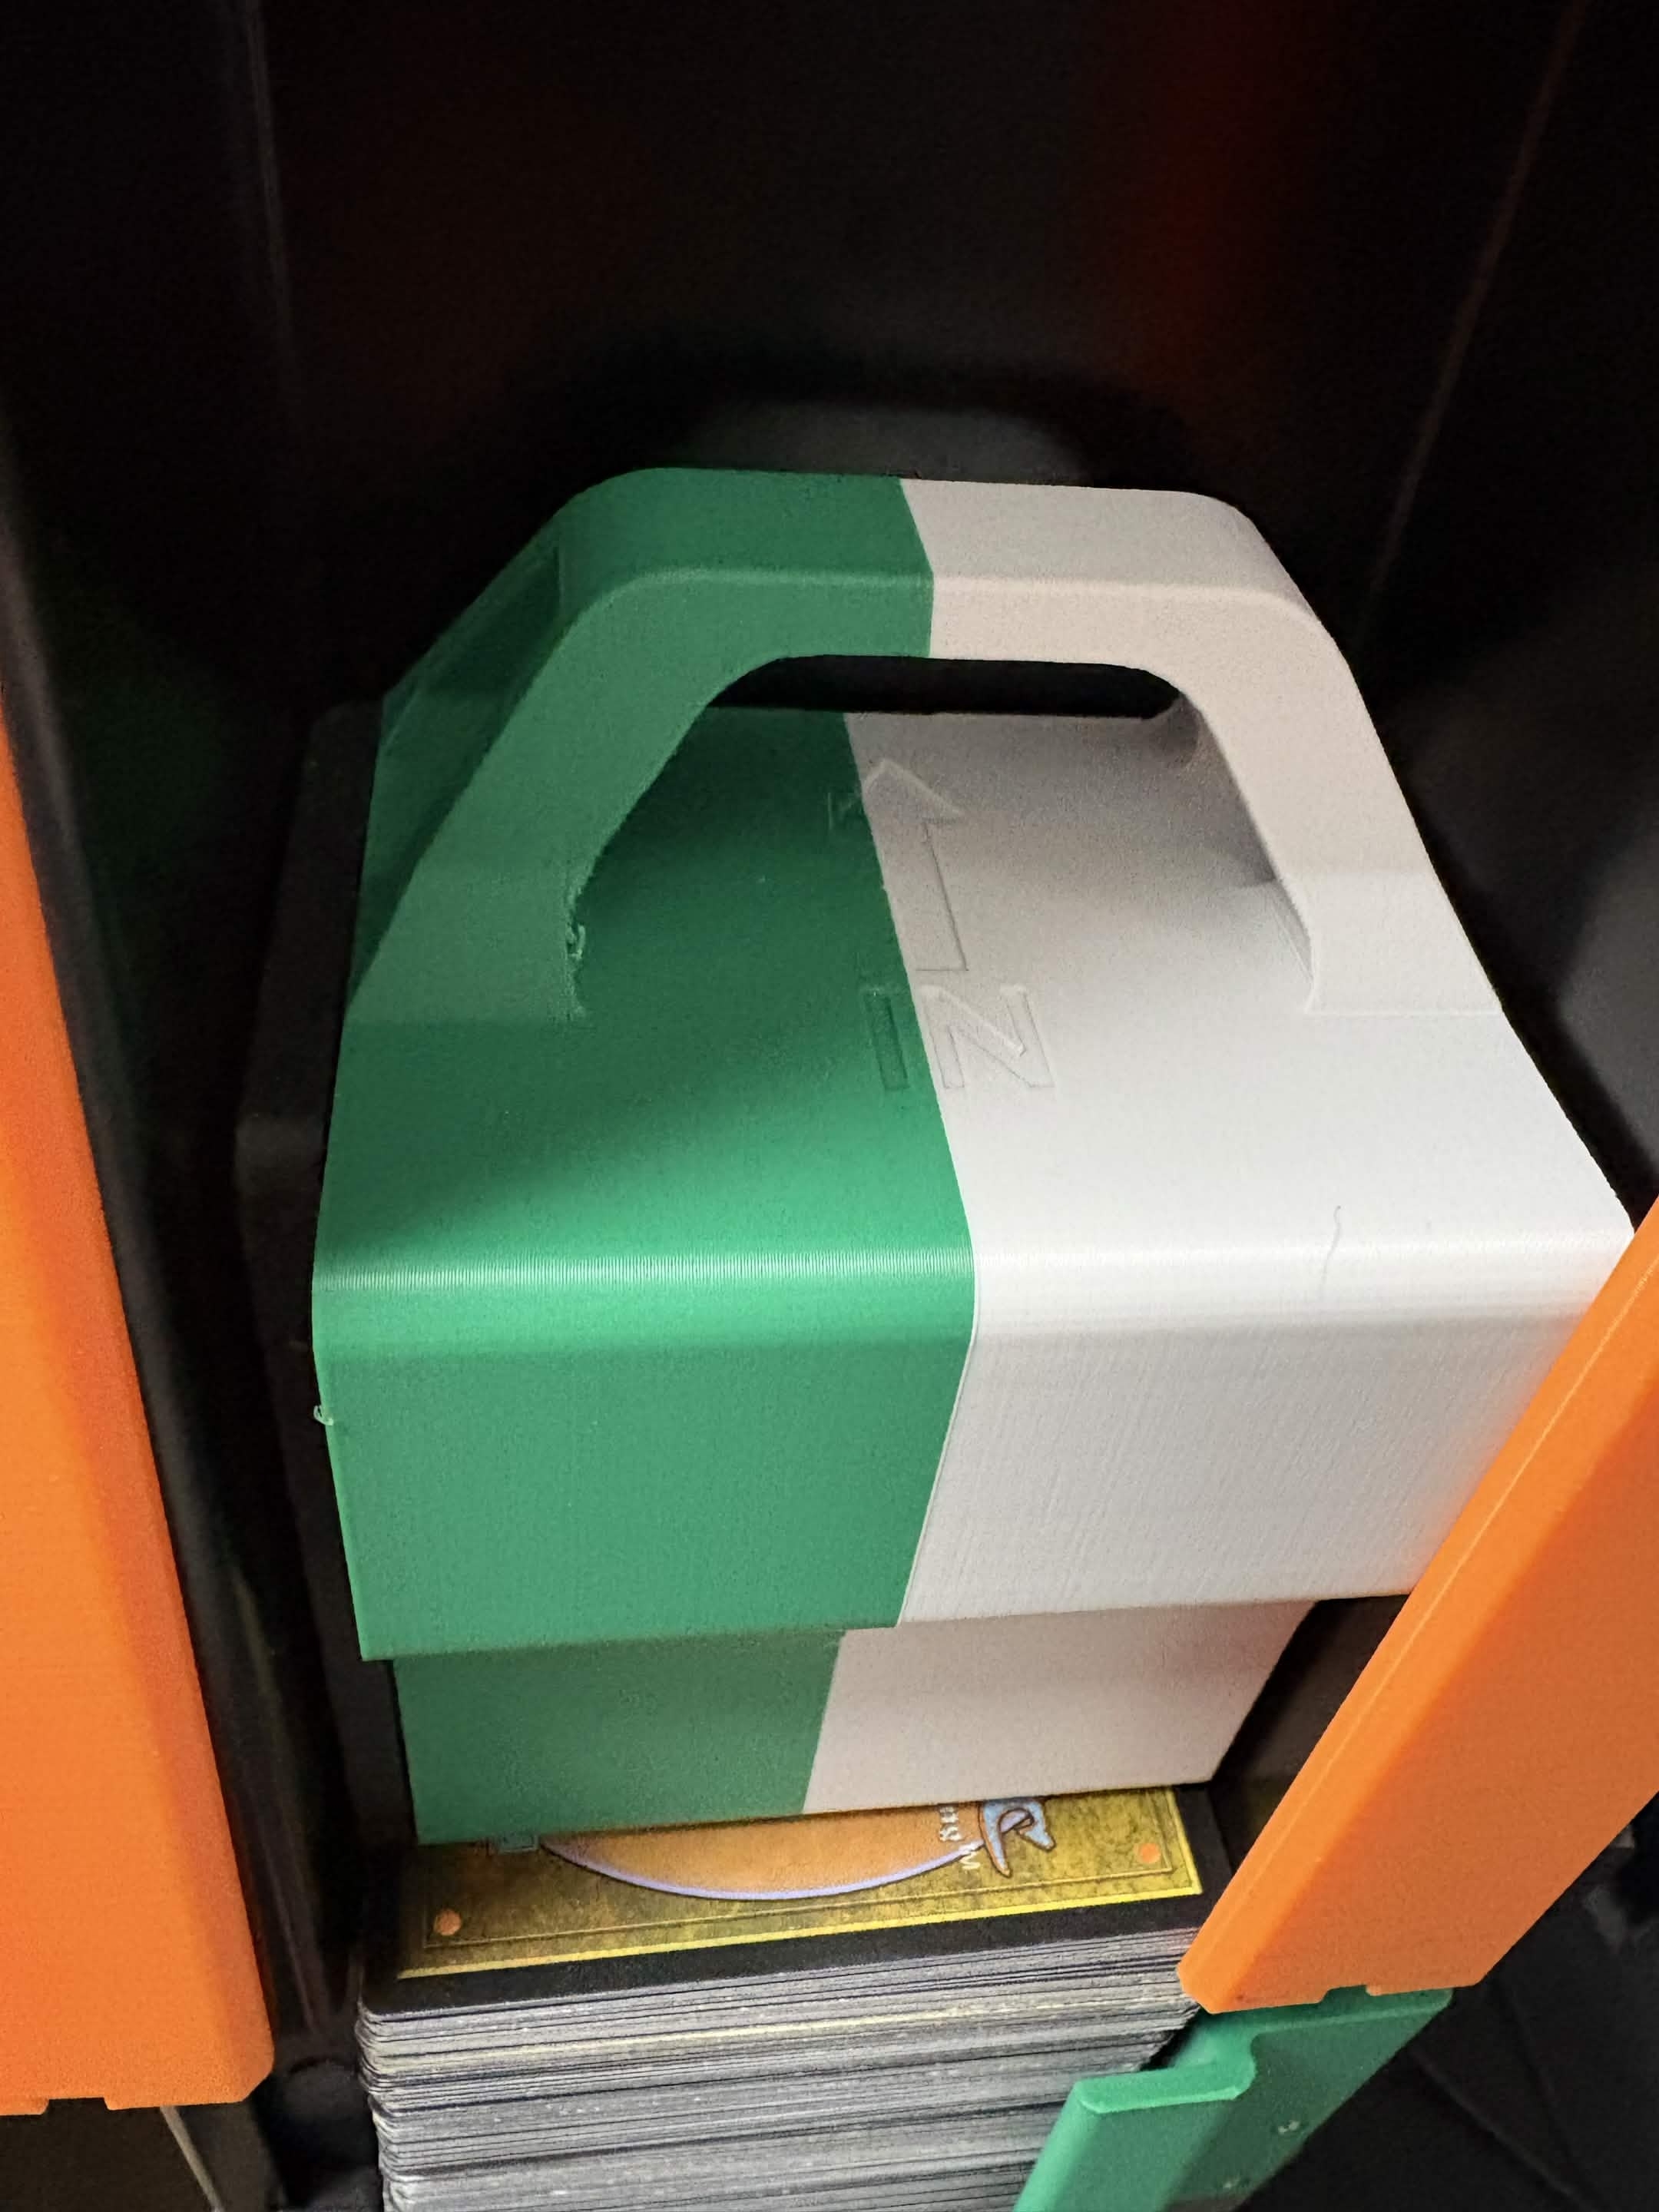
- Add the card weight, with the handle facing upwards and the arrow at the top of the weight pointing in towards the conveyor.
- Start a sorting session. You can also enter the Maintenance menu from the sort UI (gear icon to the right of "My sort setup") and choose "Feed Cards" - this will result in all cards being sent to bin 1.
- If multiple cards are feeding at once, the foot is too high and allowing multiple cards to enter the scanner. Turn the dial counterclockwise to lower it, in small increments, until only single cards are entering the scanner.

- If you hear the feed wheels underneath the cards spinning up but no cards are feeding, the foot is too low. Turn the dial clockwise to raise it, in small increments, until single cards are entering the scanner.
- If multiple cards are feeding at once, the foot is too high and allowing multiple cards to enter the scanner. Turn the dial counterclockwise to lower it, in small increments, until only single cards are entering the scanner.
It is possible to adjust the foot height with the dial during operation. It is recommended to fine-tune the foot height during the first few sorting sessions, and observe the cards with the scanner bay door open to make the necessary adjustments

Tail Trouble Troubleshooting
If after adjusting your feed fixer you are still having some difficulties with feeding cards, then switching your machine over from using the two side tails to using only one wider middle tail can help. The biggest feeding improvement seems to be with Pokémon, but this is also worth trying with other card games should you be having feeding problems with your Phyzbatch.

- First, remove your tails by unscrewing the thumb screw under your tail.
- Then, remove the tails by sliding them back off the tail bracket.
- Next, remove the tail brackets by removing the center tail bracket bolt with your 4mm or 5mm hex key. Then remove the supporting side screws using your 3mm hex key.
- After you remove the tails and brackets install one of the tail brackets into the middle position by reinstalling the bolts and screws.
- Then slide a tail onto the bracket and ensure it grabs the landing plate as outlined in the above adjustment guide.
- Lastly, adjust the tail position using your shim. When adjusting the center tail position the shim against one of the headers as normal and then eyeball the position of the center tail by looking at it from the side in relation to the position of the shim.